
Browse all guides
START HERE
Your first widget
Start with a design. Change a few things. Give it a place on your Home Screen.
In this guide
What are you making?#
A widget is a small panel on your iPhone Home Screen. It can put something useful—such as your next event, today’s steps, or the weather—where you can see it without opening the app.
In Widget Ninja, you make the design inside the app, save it to your Library, then choose that saved design for a Home Screen widget. Saving a design and adding it to the Home Screen are two separate steps. This guide takes you through both.
Gallery contains ready-made designs to start from. Library contains the copies you have saved and can change. You do not need to build everything from scratch.
Step 1: Choose a design#
Open Gallery
Tap Gallery at the bottom. Browse the collections; Photos is the first shelf. Open a design you like.
Make it look right
Choose a size and a Color story. Some designs offer more: the Pets collection asks for a cat or a dog, and the color of its coat.
Pick its settings
If the design has a Settings card, choose what it should follow, such as which photos, your driver or your goal. More about Settings.
Tap Add to Library
The app saves your own copy. You can change that copy without changing the Gallery design. The button then says Open Widget.
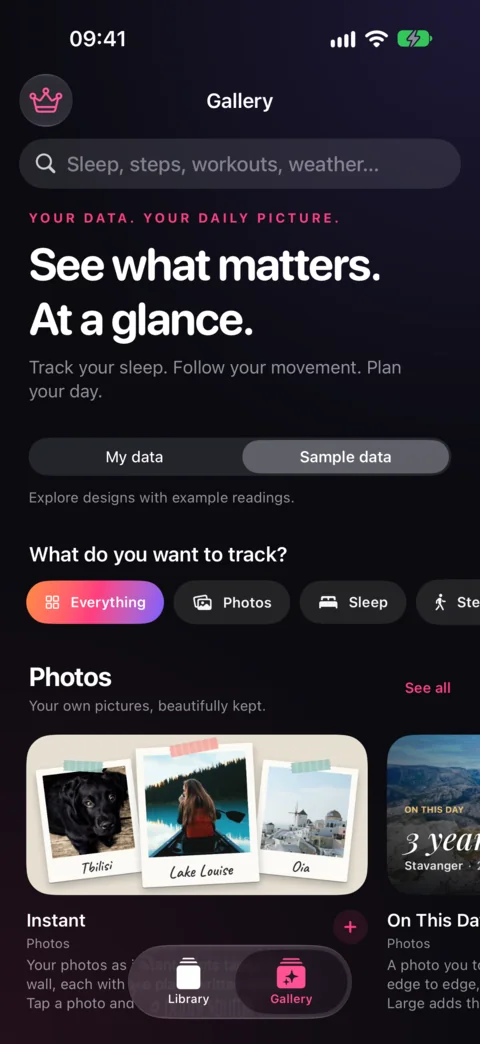
Collections as shelves, Photos first.
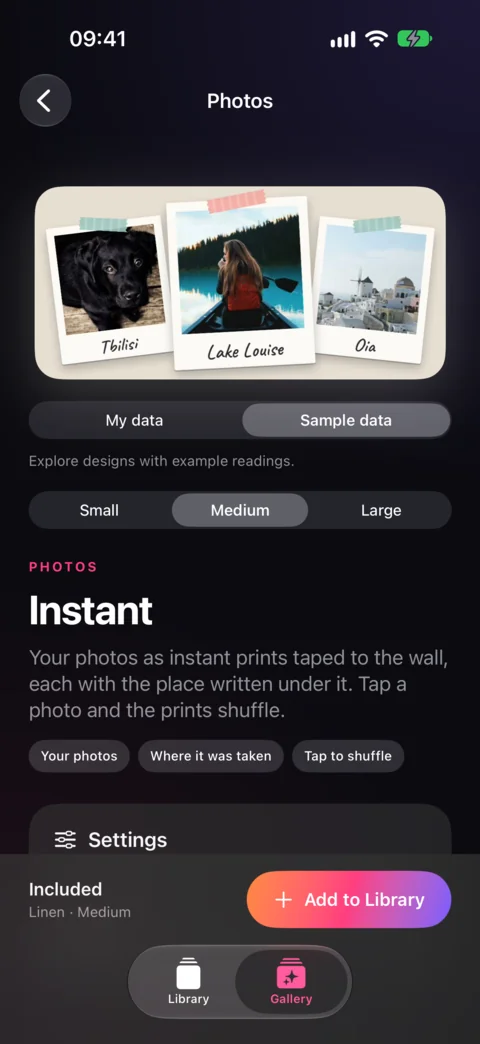
Size, sample or your data, then Add to Library.
Under the preview, switch between Sample data, made-up example readings and sample photos, and My data, your own steps, events, weather and photos once the app may read them.
Step 2: Change it, no editor needed#
Your copy opens on its own page in Library. At the top it shows the widget at each size. Below, under Settings, are the few things you’d change most: here, which photos it shows and its colors.
Tap a setting, choose, and tap Done. Your Home Screen updates as soon as you’re done.
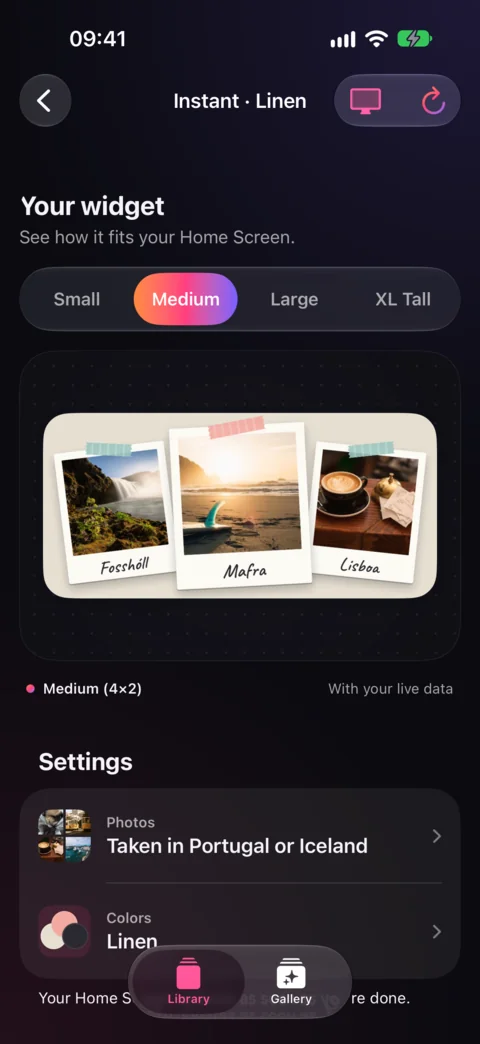
Preview and Settings · sample photos.
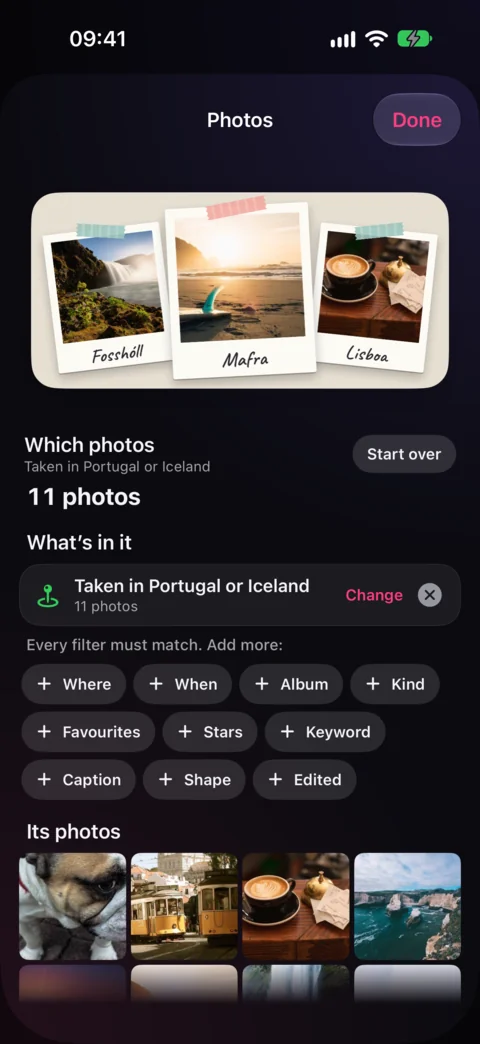
Only photos taken in Portugal or Iceland.
Step 3: Make it yours in the editor#
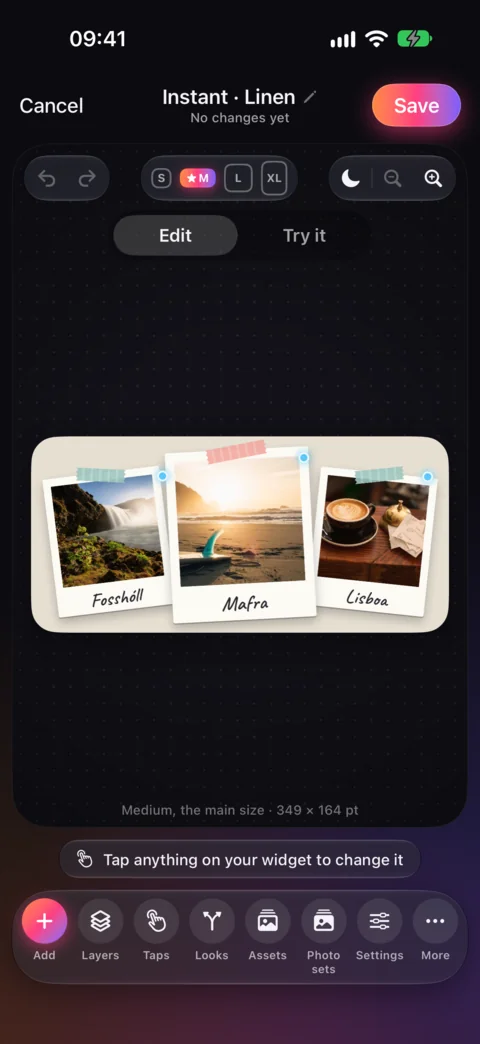
On the widget’s page, tap Design Visually. Tap something on the widget to select it, and the toolbar below shows the tools for that piece.
For example, select a text and use Content to change its words, or Text to change its font, size and color. Tap the title at the top to name your widget. Tap Save to keep your edits. Tour the editor.
Step 4: Add it to your Home Screen#
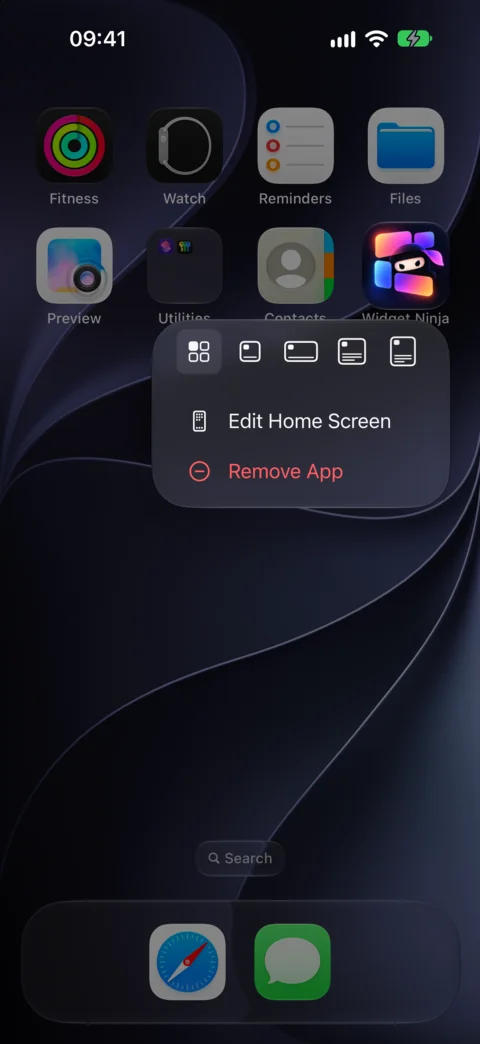
Touch and hold the app icon
On your Home Screen, touch and hold the Widget Ninja icon. Pick a widget size from the row at the top of the menu.
Or use Edit
Touch and hold an empty part of the Home Screen, tap Edit → Add Widget, choose Widget Ninja, then a size.
Choose your saved design
Touch and hold the new widget, tap Edit Widget, and choose your design under Content.
Home Screen widgets come with Pro. Without it, the widget offers to unlock Pro.
Designing is free. The Home Screen needs Pro.#
You can browse the Gallery, use the editor, and save as many widgets as you like without paying. Putting a widget on your Home Screen needs Pro, and so do the AI tools.
Pro starts with a free trial. The app shows how long it lasts and what it costs before you subscribe; cancel before the trial ends and you pay nothing. To check your plan, tap the crown in Library. Restore Purchases there brings Pro back on a new iPhone.
Start from a blank widget#
In Library, tap Create Widget Visually. You can also open the New Widget menu and choose Create Visually. Use Add to put text, data, photos, or other layers on the canvas. Or describe it to the AI and let it build the first version.
What to try next#
Fill it with photos from your library, add your step count, change the type, or add a calendar. Make it tappable, or give it Settings so it can be changed without the editor. Put it on your desk with Stand. If you are still seeing example values, check Sample data and access.
Checked against the app · October 24, 2026.
Screenshots use example data or the app’s test image.